

As a supplier of I - 1B Screw Pumps, I understand that maintaining and replacing parts of these pumps is a crucial aspect for users to ensure their smooth operation. In this blog, I will guide you through the process of replacing the parts of an I - 1B Screw Pump.
Understanding the I - 1B Screw Pump
Before we start replacing the parts, it's essential to have a basic understanding of the I - 1B Screw Pump. This type of pump is widely used in various industries due to its high efficiency, stable performance, and ability to handle different types of fluids. It consists of several key components, including the screw rotor, stator, bearings, seals, and the pump housing. Each part plays a vital role in the overall functioning of the pump.
Tools and Materials Needed
- Tools: You will need a set of wrenches, screwdrivers, pliers, and a bearing puller. Make sure these tools are of the appropriate size and quality to avoid damaging the pump parts.
- Replacement Parts: Obtain the correct replacement parts for your I - 1B Screw Pump. This may include a new screw rotor, stator, bearings, and seals. Ensure that the parts are compatible with your specific pump model.
Step - by - Step Guide to Replacing Parts
1. Safety First
Before starting any work on the pump, ensure that it is completely shut down and disconnected from the power source. This will prevent any accidental startup and reduce the risk of injury.
2. Disassembly
- Remove the Pump Cover: Use a wrench to loosen the bolts securing the pump cover. Carefully lift the cover off the pump housing. This will give you access to the internal components of the pump.
- Take Out the Screw Rotor and Stator: The screw rotor and stator are the main pumping elements. Loosen any retaining clips or bolts holding them in place. Gently pull out the screw rotor from the stator. Be careful not to damage the threads or surfaces of these parts.
- Remove the Bearings and Seals: Use a bearing puller to remove the bearings from the pump shaft. You may need to use a screwdriver or pliers to remove the seals. Take note of the position and orientation of these parts for proper reinstallation.
3. Inspection
Once the parts are removed, carefully inspect them for signs of wear, damage, or corrosion. Look for cracks, excessive wear on the threads, or damage to the seals. If any part is severely damaged, it should be replaced immediately.
4. Installation of New Parts
- Install the Bearings and Seals: Apply a thin layer of lubricant to the new bearings and seals. Carefully press the bearings onto the pump shaft using a suitable tool. Install the seals in the correct position, ensuring they are properly seated.
- Insert the Screw Rotor and Stator: Lubricate the new screw rotor and stator. Gently insert the screw rotor into the stator, making sure they are properly aligned. Check that the rotor rotates freely within the stator.
- Replace the Pump Cover: Place the pump cover back onto the pump housing. Tighten the bolts evenly to ensure a proper seal.
5. Testing
After reassembling the pump, reconnect it to the power source. Start the pump and check for any abnormal noises, vibrations, or leaks. Monitor the pump's performance to ensure that it is operating correctly.
Tips for a Successful Replacement
- Follow the Manufacturer's Instructions: Always refer to the manufacturer's manual for specific instructions on disassembling and reassembling your I - 1B Screw Pump. This will ensure that you are following the correct procedures and using the appropriate tools.
- Keep a Clean Workspace: A clean workspace will prevent dirt and debris from getting into the pump during the replacement process. This can help extend the lifespan of the new parts.
- Proper Lubrication: Use the recommended lubricants for the bearings and seals. This will reduce friction and wear, improving the overall performance of the pump.
Other Related Pumps
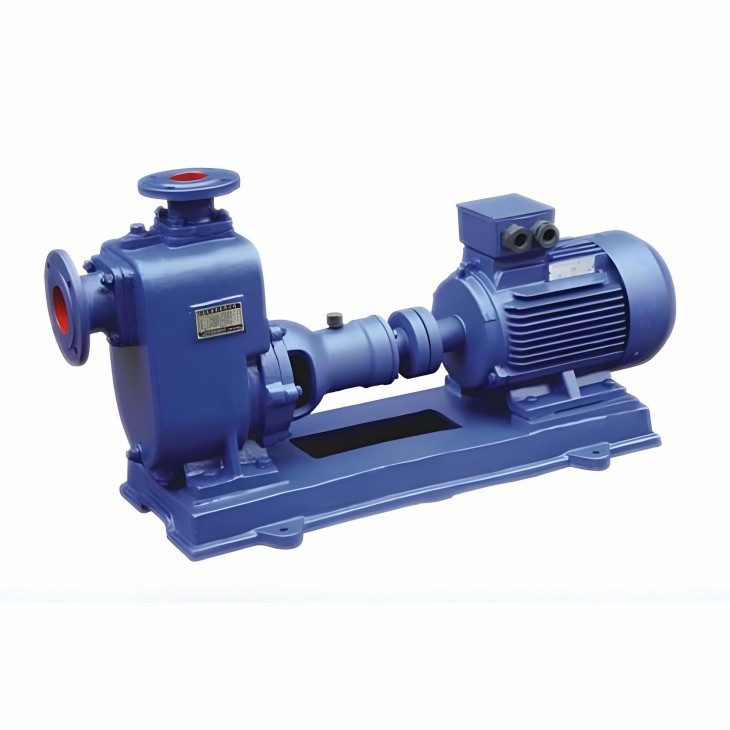
In addition to the I - 1B Screw Pump, there are other types of pumps that you may be interested in. For example, the KCB Gear Oil Pump is a popular choice for applications requiring the transfer of oil. The Cantilever Corrosion - resistant Pump is ideal for handling corrosive fluids. And the ZX Self - priming Centrifugal Pump is known for its self - priming capabilities.
Conclusion
Replacing the parts of an I - 1B Screw Pump may seem like a complex task, but with the right tools, knowledge, and a careful approach, it can be done successfully. By following the steps outlined in this blog, you can ensure that your pump continues to operate efficiently and reliably.
If you have any questions about the I - 1B Screw Pump or need assistance with part replacement, feel free to contact us for more information. We are here to support you in your pump - related needs and look forward to discussing your procurement requirements.

References
- Manufacturer's Manual for I - 1B Screw Pump
- Industry standards for pump maintenance and repair